Thursday, 24 May 2018

15/5 - 24/5/18 - Britannia

I've upgraded to a new phone and had a few issues uploading blogs. Hopefully the bugs are fixed! (No they are not, am uploading from my PC!)

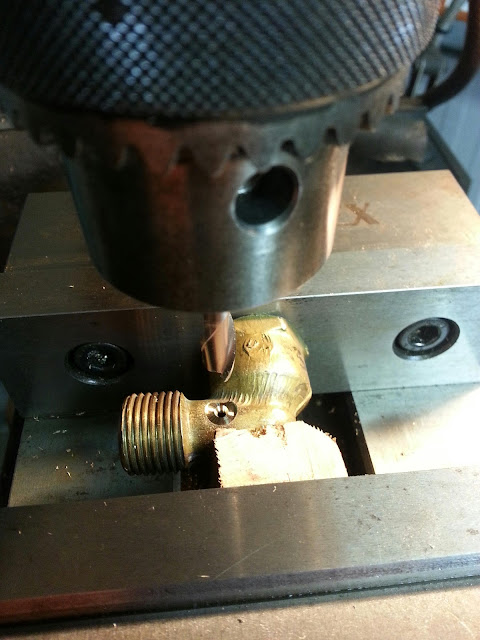
I've been working out what's wrong with Britt's buffer beam, and it wasn't sitting horizontal according to the frame. After dismantling and sand blasting the repairs have been underway to fix the problems. The mounting holes in the frame and stretcher behind were way oversize and the clearance meant it could be clamped up anywhere.

The brackets behind the buffers were made out of square and so they were cut and silver soldered to fix them.

The running board mounting blocks were re made. Issues there meant the brackets were below flush with the top of the buffer beam.

The steps and struts are at all angles. Struts too long. Need to shorten/remake those.

Checked the stretcher behind buffer beam and the ends weren't square so it clamped it up on an angle. While in the mill taking a light skim off this the job grabbed and damaged it. So a new block of aluminium was sourced and a new one milled up...this time the corrections were made to it in the first instance.

The holes were drilled in the new stretcher, so that the 10BA screws for the brake piping are in through holes, a foresight incase they snapped off in a derailment.

The bits are in undercoat as we speak. Will upload some more tomorrow when it goes together.

Happy steamin!

Nigel


Monday, 14 May 2018

10/5 - 14/5/18 -Britannia

In the last couple of days I have made up some basic loco jacks for setting up the Britt (and similar locos). Made from coach bolts and some left over buffer plates. I can see a few improvements to them already but needed something infinitely adjustable.

The springing is not yet adjusted for the weight on the loco springs.

Happy steaming!

Nigel

Thursday, 10 May 2018

8-9/5/18 - Princess Marina

A bit more work in the last couple of days machining up Princess Marina cylinders finishing off the LH cylinder boring and facing. I won't "bore" you with photos the same as the other day!

Happy steaming!

Nigel

Monday, 7 May 2018

4-7/5/18 - Princess Marina

Princess Marina cylinders are progressing with boring and facing. RH cylinder done and onto the left.

Also the Britannia has had a look in with the regulator rodding and pivot and linkages being researched and worked out.

Happy steaming!

Nigel

Thursday, 3 May 2018

3/5/18 - Princess Marina

Some months back the owner of the Princess Marina I've been making bits for asked me to do the cylinders. These were ordered from the UK.

Today was spent measuring the extra metal and machining the faces and bores, the rearmost cover face and the bore being done square to each other.

I've decided to have a go at boring them out on the mill rather than setting them up on the lathe. The quill on the milling machine has a slow feedrate available and it seems to leave a reasonable finish on the first few cuts done.

Last time I used the boring head was boring out a big end bearing for a full size locomotive. The arbor and boring head are attached by a fine thread on the end of the arbor. The boring bar out the end of the boring head in that orientation (horizontal) requires the machine to run in reverse for the tip to cut. The intermittent cut on the big end bearing caused the head to unscrew from the arbor until I realised what was happening! Certainly made me jump at the time as the tool being out a long distance is very unwieldy and makes you think twice about where its going!

So some loctite bearing mount (610?) was used to lock up that thread so it wouldn't unscrew again. Didn't want to use threadlocker as its weaker than 610 and can still be undone with tools, happy to know some heat will get it undone. Wasn't happy to put a weld on it as it was brand new and may need another arbor in time to come!

Happy steaming!

Nigel

Wednesday, 2 May 2018

2/5/18 - Pansy

Well after a day of mucking around with the valve I have finally managed to get it to blow off with a 5psi pressure drop from open to close. It doesn't "jazz" or "buzz" much but definitely opens and closes without leakage which I am happy with. The final cup clearance was between .0155" and .0160". Any more than that and it starts to blow like a conventional valve, but any less and the pressure drop is abour 7psi.

A lighter gauge spring increased the pressure drop.

I had to make a checksheet for changes to critical dimensions as it was easy to lose track of what it was that had changed or what seemed to be a positive result. I ended up number stamping the end of the spindles.

I also played with the underside of the cup on one of the spindles as the shape I have to get 1mm engagement of cup and secondary seat flattens off the bottom of the cup and would be far more streamlined for any escaping gases. The measurement of reality against my CAD file meant the shape was a little different once the ball had bedded into the seat and cup.

I wondered if the shape of the underside being a recessed cup causes drag/eddying with the escaping air or steam, which I thought would push it open easier without increasing the cup diameter. Didn't seem to make much difference by just putting a groove on the underside. Might have a bit more of a think about that one.

I made a measuring cap to check the engagement of the cup and secondary seat while in situ which assists holding a digital caliper vertical.

Happy steaming!

Nigel

Tuesday, 1 May 2018

30/4 - 1/5/18 Pansy

Been still mucking about with the pop safety valve experimenting with different cup diameters. I took 1 thou cuts off the first one until it didn't pop anymore which was about .017" diameter clearance between the cup and the secondary seat.

I have another pop valve drawing which stipulates a .006" clearance but only has 4 exit holes at the top. I made some years ago which have .006" clearance and they seem to work OK.

Still getting ~10psi difference between lift and close and have a few more experiments tomorrow. I've changed the way I made the cup and spindle...both have threads but decided to do it into a blind hole rather than a through hole. The difference was the end of the stainless thread and brass being two different metals had shown that it was pushing the ball to one side once it bedded into the cup after a little bit of operation. The tangent point where the ball was sitting was on the end of the thread.  Also found the seat in the body needed a cleanup with the seating tool as the ball had made its own sweet spot on the square edge and flattened it a little.

Happy steaming!

Nigel

Friday, 27 April 2018

27/4/18 - Pansy

Today I finished off the safety valve adjusting tool and did some tests on the valve.

Found a better result with a short hose directly onto the compressor rather than through the long hose and regulator. The plunger was skimmed several times and I think I might have gone past the critical setting as it was popping nicely in all cases but the shut down pressure isn't less than 7-10psi lower than the blow off pressure.

I have some more spindles and plungers to trial.

Happy steaming!

Nigel

Thursday, 26 April 2018

26/4/18 - Pansy

The test rig for the safety valve was made today from some plumbing pieces and a 3mm plate to clamp in the vise.

I made the nut and tail for the gauge as I didn't want to surrender one off this gauge and render it permanently assigned to the test rig. So while at it I beefed up the tiny little supply pipe so there's less chance of busting it off. The gauge sits on a nice ergonomic angle so no ungainly bending of the neck required for testing the valve :-)

Started making the adjusting spanner and then promptly lost the stainless pins I was making for it somewhere in the lathe! Wonderful to have such a clean machine but still couldn't find it! Ah well do it all again tomorrow!

Happy steaming!

Nigel

Wednesday, 25 April 2018

R class plates

A little while ago I had an order for a full sized R class number plate replica which I made from MDF, and also the North British Locomotive plate which is a copy the one belonging to R766. They were painted with enamels after sealing with primer and putty and look quite the part!

25/4/18 - Pansy

The safety valve body was drilled out and finished off with the seat tool.

The exterior body was profiled and tried with the shroud. Fits well. My final idea will have an O-ring to make the shroud a tighter fit on the valve so it doesn't come off so easily.

It was set up in the rotary table to mill the 1" hex on the base.

The plunger was made as are a couple of spares in the event too much is machined off the OD of the plunger. The aim is to achieve a minimal pressure drop between open and close and that is controlled by the diameter of the plunger.

The spindle and plunger were threaded a tight 3BA and silver soldered for security. The OD of the plunger was machined after soldering.

Happy steaming!

Nigel

Tuesday, 24 April 2018

24/4/18 - Lathe and back on to Pansy

Yesterday I rang the supplier of my lathe. They haven't continued this model for some time and the manufacturer in China has shut shop. They still have some spares but not in the way of bearings.

I've managed to locate some tapered roller bearings from the local bearing supplier as well as getting the rest of the headstock bearings quoted up.

Also I've fitted a rare earth magnet to the headstock sump to catch any metal moving through the oil. I got it from Jaycar.

The lathe service manager told me to tighten right up the preload on the spindle bearings to get me by for the time being. So that was done and some spirited running at 1500rpm for a while indicated yes they get warm but not hot. It's made a difference.

A check was made again in the headstock to see if the preload on the spindle had tightened up any of the other shafts. While at it I checked the rare earth magnet and it had done some good work picking up some metal. So hopefully we shouldn't be getting any such metal moving through the bearings again.

A series of test cuts were done and have satisfied myself enough for the present time.

So work turned again to the Pansy safety valve for a little while.

Happy steaming!

Nigel

Sunday, 22 April 2018

21/4/18 - Lathe!

The last few days have been flat out just fixing the lathe. I have had all the carriage in bits...long story but had the rack and pinion out of alignment with the bed and putting some downward pressure on the carriage. I've been chasing some "phonographing" which has turned up in the last few months on some of the cuts and suspected possible swarf under the carriage as a culprit giving it some springiness reflected in the cut.

Lots of work done. The rack dowel pins were holding the rack out of parallel...they were almost all removed and set up with a spacer block off the bed. A gasket added to the top of the apron gearbox to stop the pinion bottoming on the rack. Also noticed the fair share of paint and grit in the rack and pinion.

Swarf cleaned out of the apron which was coning from the cross slide area. Gearbox drained, and flushed.

The power feed shafts and lead screw were cleaned. Half nuts were jam packed with swarf.

The lathe was reassembled and a test cut done. There was a defiite improvement but still a small ripple on the cut.

The lathe was tried on several speeds and on low rpm with a lot of motor rattle the cut was horrible. Then turned off and disengaged the drive and wound by hand. Much better. So I realised that I had tightened up the belts and the tension and the way the motor supports on the head was introducing a lot of vibrations and harmonics...which would be much more evidenced if the spindle besring pre-load still wasn't enough.

Decision was made to inspect the spindle bearings so the head was dismantled enough to do that. I found that the main bearing behind the chuck had 3 brinells in it, but not able to be felt by hand. The outboard bearing looked worse and the rollers had skidded or somehow gotten some grooves possibly by something hard in there.

Also it was noticed the input shaft rumbles slightly.

So I thought a cleanup and flush of the bearings and a blow out with air might do for the moment...see how bad it is when there's no grit in the besrings with some more pre-load.

So the heastock was reassembled again with the same bearings with the plan to change the whole lot in the headstock at a future stage when I can see my way clear. The metal in the headstock oil even coming off the gears is something to be aware of.

The cut has definitely improved. The bearing pre-load cannot be underestimated, as also the much quieter operation with less tension on the belts.  I'll add a rare earth magnet into the bottom of the sump to pick up any other traces of metal floating around.

Happy steaming!

Nigel

Wednesday, 18 April 2018

17/4/18 - Pansy & lathe repair!!

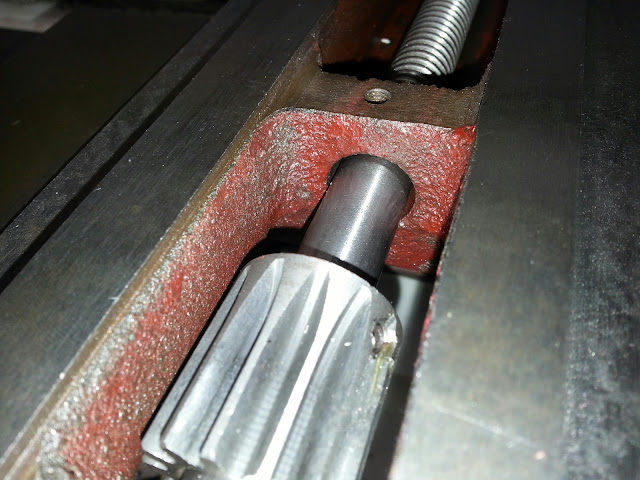
The safety valve seat cutting tool was made and heat treated in oil. It was then tested successfully on brass and produced a good result.

My AL330a lathe which I bought almost 15 years ago has served me well but yesterday I noticed it has been producing some chatter marks even on finish cuts in the last few weeks, without any audible chatter. Faint marks but noticable. In machining the first cut on the outside body of the safety valve the depth of the chatter in waves was measured at 0.01mm and had approximately the same pitch as the carriage rack and the same number of ripples as the bearing rollers.

So the spindle bearings have been adjusted. Some seals are being replaced (leaks oil...finally have been able to trace where it comes from). The gear change levers had O-rings on the shafts and have found at least one was cut allowing oil to capillary past it. The O-ring grooves had razor sharp corners and they were chamfered to prevent it doing it again.

Grey flecks were noticed in the oil well and when the gear change levers were dismantled it was noticed they had drilled the dimples for grubscrews in the shafts and had left the swarf in the holes and jammed the grubscrews in!

I'm hoping the grey flecks in the oil well are leftovers from "running in" with the included bits of swarf coming from manufacture. The oil will be changed.

I had made the mistake of topping up with any thin motor oil over the last year rather than a hydraulic oil being a bit frustrated with the leaks becoming worse and not knowing where they were coming from and how much down time required to fix. As I learned yesterday the oil with detergents such as a motor oil holds particulate in suspension rather than a hydraulic oil letting it stay in the sump. I had typically used a gear oil previously and have a 20L drum of hydraulic so should be an easyish job to clean out and refill.

Some power feed shaft seals will be replaced as will the o-ring behind the bullseye sightglass as that was leaking too. I have found they are not a standard width but I can get narrower ones from a bearing supplier. The bullseye O-ring didn't have much chance as the spotface and threading operation left some burrs that had cut that one too.

Just goes to show the basic machine parts are probably fairly reasonable but as everyone tells me the Chinese lathes such as what I have has been put together in a hurry and has sharp burrs and could include swarf in the headstock. It would be a nuisance to strip down a brand new lathe but it might be worth the effort in the long run to not have cut seals and swarf where you don't want it.

Hopefully today (Wed 18/4/18) will be back in business with a repaired lathe.

Happy steaming!

Nigel

Monday, 16 April 2018

16/4/18 - Pansy

Some components have been made for the pop-type safety valve. My intention is to use an O-ring or two on the outside of the valve to hold the shroud on. Providing a little bit of stiffness to push on to prevent it rattling around on the painted cladding and also to accommodate for variations in squareness there.

Happy steaming!

Nigel